
![]()
Canva is fast becoming one of the largest web-based graphic design and photo editing tools out there. Offering both free and premium paid subscriptions, Canva empowers users of all experience levels to design graphics, edit photos, and more.
If you’re using the paid version of Canva, here are a few tips to help you resize your images to our custom screen-print heat transfers.
Before We Get Started, a Disclaimer
We are not affiliated with Canva. We're just users of their software, sharing tips & tricks that we've found work best.
Now that we've cleared the air, let's get started!
Resizing Your Artwork
To begin, we will need to determine which sheet or paper size you want to purchase. In this example, we will use one 9"x12.75", one of the sheet sizes offered through our Single Image programs.
Step 1: Let's Get Started
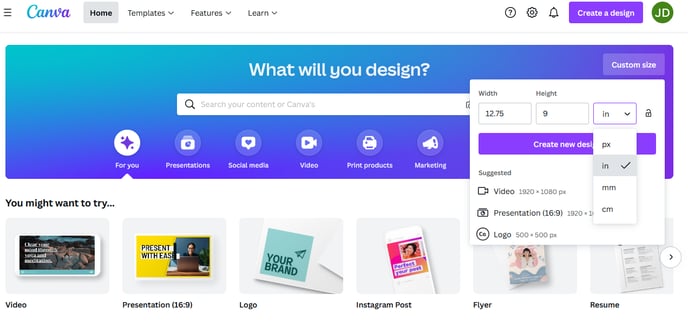
- Start at Canva's Home page. Select the Custom Size button located on the right side. We've circled it in the image below.

- Once you click on the button a drop-down menu will appear.
Step 2: Enter the Desired Settings
- In the Custom Size drop-down menu, change the default unit of measure from Pixels to Inches.
- Once you change to Inches, you can then enter the width of 12.75” and the height as 9” as shown in the image below.
- Click Create New Design -you'll be redirected to a new page
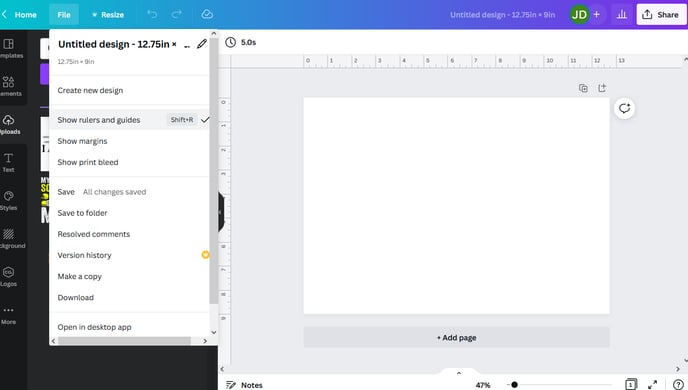
Step 3: Add Rulers
- Under the File menu found in the top left corner, select the Show Rulers and Guides option to turn the rulers on in the preview window.
- This will help confirm your artwork size once you've resized your artwork.
Step 4: Upload Your Art
- Upload your art file from your computer by clicking on Uploads on the left hand side.
- Canva accepts .SVG, .PNG, .PDF, .TIF or .JPG. In this example, we used a .SVG (Scalable Vector Graphic).
- Click Upload Files and select the file from your computer.
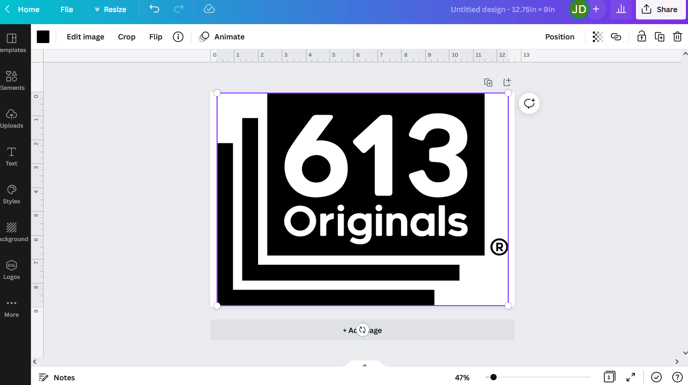
- Tip: If you plan to order a 1 Color heat transfer, we recommend uploading your file filled in black. This way you can see the artwork easily when resizing it through Canva.
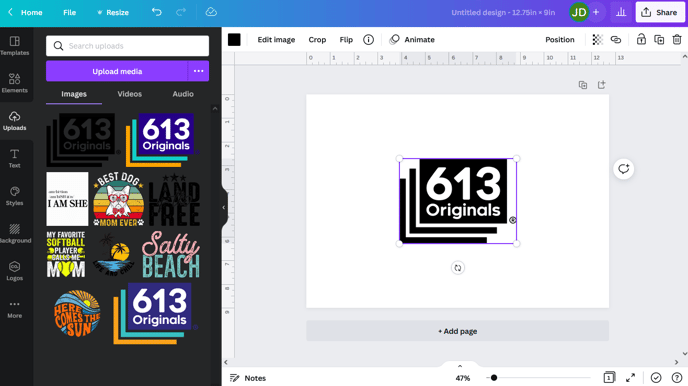
Step 5: Add Your Art to the Canvas
- Next, click on the image to add it to the canvas or drag it on the canvas.
- Drag your image to the left corner and click it one time. You will see 4 “points” appear.
- Now drag the right lower “node” and you will see the measurement appear as you drag and enlarge the file.
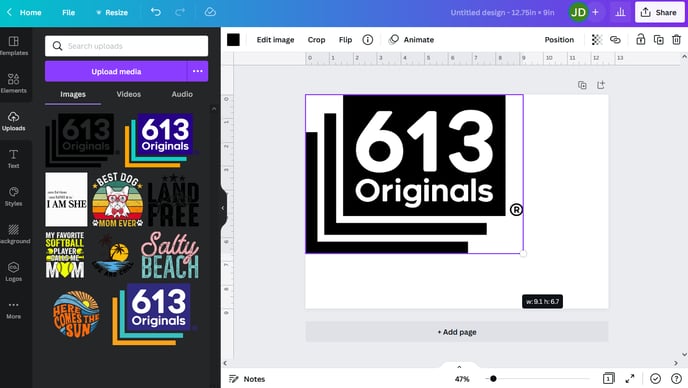
Step 6: Resize Time
- Continue dragging the file until you've made it the size you want. In our example, we went to the edge of the canvas as we wanted to resize the artwork as large as it could fit on the sheet.
- You can then center the image by dragging it to the middle.
Step 7: Save Your Resized File
- Next, click File in the top menu and click the file name to edit.
- Enter the name of your art file. This is optional - unless renamed, the default name will be "untitled 9×12.75”
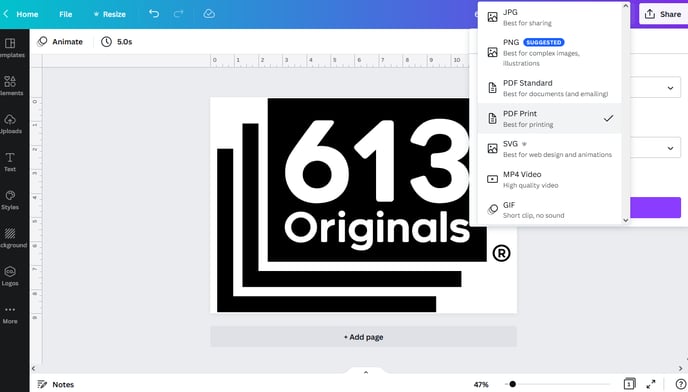
- Select Download from the top menu. On the right, you will see a drop down menu to select your file type.
- We recommend selecting the PDF Print - Best for Printing option.
- Then change the default from RGB to CMYK.
Step 8: All Done!
- Your downloaded image will now be resized to fit the 9”x12.75” sheet size.